 |
| Start with a ball of yarn. This shape works the best, I am using Hayfield's Chunky with Wool, which is a wool/acrylic blend. |
 |
| Tie a piece of string right around the middle of the ball (I like to use a piece of the yarn that I am making the pompom from). If you are planning on hanging your pompom make sure that the string is long enough. |
 |
| Make sure to tie extra tight! This is what will hold your pompom together, it is important! |
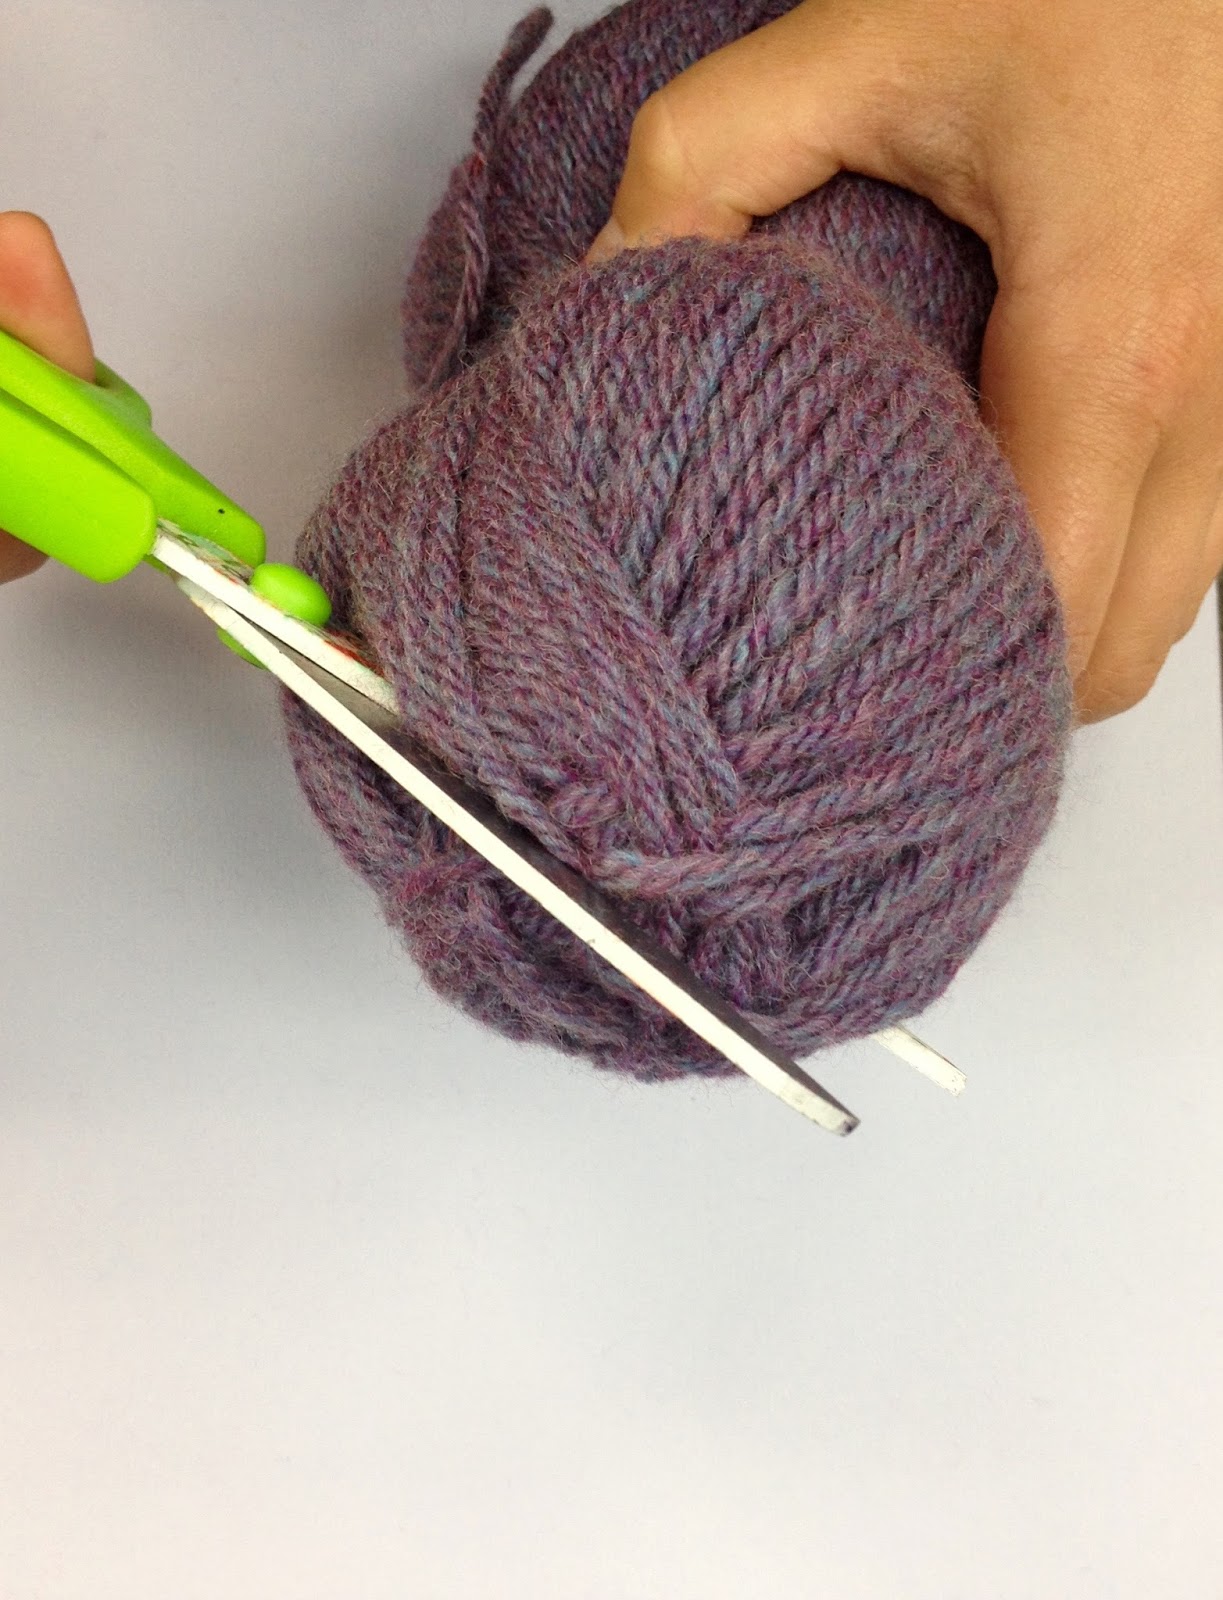 |
| Here comes the scary part, start cutting! |
 |
| Cut both ends of the ball, trying to catch all of the strands. Make sure not to cut the string that is tied around the middle. |
 |
| It will now look like a giant mess, so you need to start trimming the pompom to give it some shape. |
 |
| Trim, trim, trim! |
 |
| Give that centre string another good pull to make sure it is secure. |
 |
| Take one last look at the pompom to catch any stray strings that are too long. I also like to give the pompom a good shake at this point to knock out any loose strings. |
 |
| And there you have it, a giant pompom! |
No comments:
Post a Comment